Showing posts with label hinges. Show all posts

Sunday, September 30, 2012

Hood Hinge


<< Mount Body Shell                                                    Mount Hood >>

Major System Category: Body (Hood)
Task: Mount the hood
Parts: Corvette donor hinges
Prerequisite Tasks: Everything under the hood.
Additional Costs:
Time Requirement: 1 hour
Date Started: September 26, 2012
Date Completed: September 26, 2012
The hood hinge is a combination of the Corvette donor parts and the Factory Five kit parts. The hinge bolts to the mounts at the front of the chassis that sit on either side of the the condenser, radiator and fan assemble inside the inner wheel wells.
Corvette donor hinges. The bumper pads are still attached. The strut mounts for the Corvette struts are pointing up at the bottom of the photos. The Driver is on the left and passenger is on the right.
Factory Five hinge plates.  The Driver is on the left and passenger is on the right.


The build manual photos are pretty good. They show the Corvette pieces, then the Factory Five pieces and then the assembly. I labeled mine D(river) and P(assenger) to keep everything straight. I have adopted this nomenclature for virtually everything in the car. This works better for me than left and right as it is really easy to get turned around.
The Factory Five hinge plate attached to the Corvette hinge. This is the driver's side assembly.
I removed the Corvette struts and left the bumper pad attached to the hinges. I don't think the bumper pads serve any purpose on the GTM. Certainly the strut mount for the Corvette struts are not used.
Hinge assemble attached to the driver's side. Note this is between the inner wheel well and the front tire. The old strut mount is pointing in and the Factory Five hinge plate faces the front of the car. The hinge plate needs to lay flush against the fog light pod inside the hood.
Factory Five uses carriage bolts and nylon locking nuts for the assembly. This proved to be a major help. As I found myself later loosening and tightening things down as I worked to get the hood straight and attached. My trusty ratchet wrench and really long extension got a work out!
Passenger side assembly.
I have to admit I am a little dubious of the long term strength for the hinge to hood connection. The hinge itself is well engineered and can handle the weight. My concern is the fiber glass that the hinge connects to. I estimate the hood weighs around 75 lbs. I've already had one clumsy accident where it tipped over on me and sent my work table cartwheeling into the drive way. The calamity was loud enough for the neighbor across to the street to poke her head out the window to see if I had killed myself or something.
The final task is to attached the bulb seal. The kit has various types of  seals. This is the  one mounts  to the top of aluminum. It has a sleeve that slides over the edge of an aluminum panel. In this case the inner wheel well.

The nice thing about the hinge set up is there is room for error and correction. The manual says not to tighten down everything, but sooner or later the time comes to raise the hood and see if things hold together.

Monday, September 10, 2012

Rear Hatch Gas Shocks


<< Hatch Hinge                                             Hatch Latch >>

Major System Category: Body (Hatch)
Task: Assemble and mount gas struts
Parts: gas struts
Prerequisite Tasks: Assemble and mount hatch hinges
Additional Costs:
Time Requirement: 30 minutes
Date Started: September 1, 2012
Date Completed:  September 1 , 2012
The gas struts install very easily. There is another mounting pad along the edge of the hatch. Carefully drill a couple of holes and rivet the mounting point in place. Attach the struts.
Gas strut components.
The one thing I found was I had to readjust the hinges after the struts were installed.
Gas strut installed.

Wednesday, September 5, 2012

Rear Hatch Hinge


<< Rear Hatch Fitment                                        Hatch Gas Struts >>

Major System Category: Body (Hatch)
Task: Assemble and mount the hinges
Parts: Hatch hinges
Prerequisite Tasks: Preliminary hatch fitment
Additional Costs:
Time Requirement: 90 minutes
Date Started: September 1, 2012
Date Completed:  September 1 , 2012
The hinges are straight forward. The photos in the build manual give a basic understanding of how these fit together. There is a specific right and left hinge configuration. Basically, the hinge needs to move so it does not bind.
Hinge pieces. The manual photos can get you turned around, so just  use common sense when fitting the bushings.
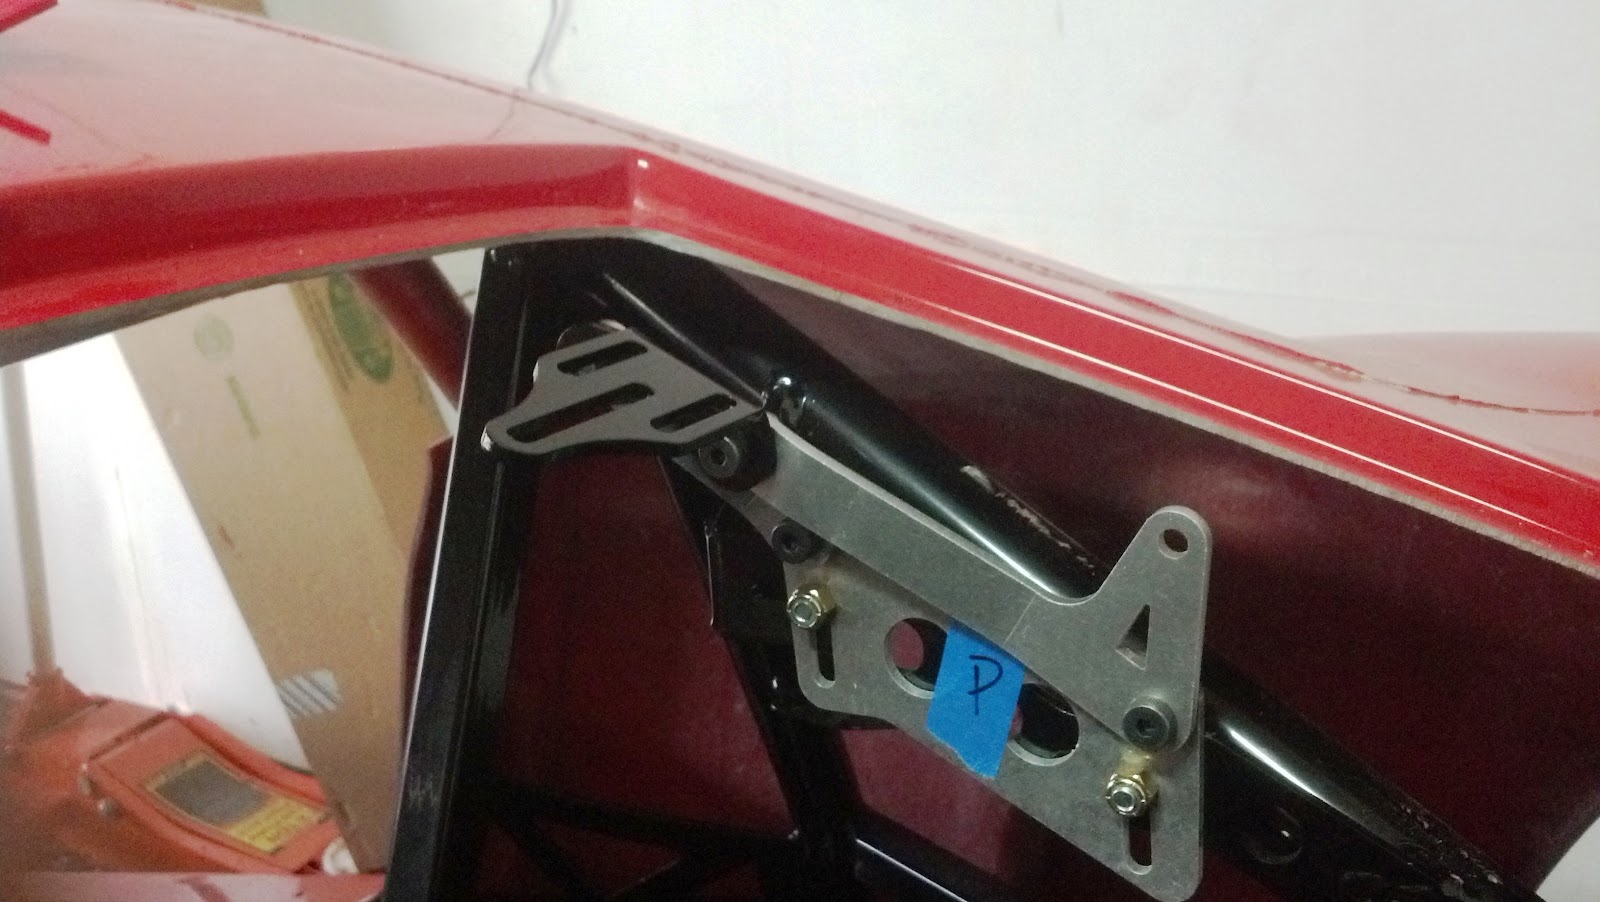
Factory Five did a good job in designing adjustments for the hinges. They can move up, down, forward and back. Like most builders, I found the hatch to be high on one side and lower on the other. This is not something that can be forced into place. In order for the hinges to function properly, they need to rest flush against the top inside section of the hatch.
Hinges assembled. I marked then P(assenger) and D(river). It  got a little muddled when I stood in the engine bay.
Unfortunately, when the hinges line up with the mounting pads on the hatch, the preliminary fitment tends to shift in some direction. I used a Sharpie and marked the lines inside the hinge groves where the hinge plate mated to the hatch. I then drilled and install the rivet inserts. The hatch is molded around a soft piece of aluminum, and there is a space under the aluminum, so be careful when you drill.
Passenger side hinge closed after initial attachment to the chassis.
I spent a fair amount of time working with the hinges and the hatch fitment. Finally, I loosened up everything connected to the chassis, and let the hinge/hatch move into place. This changed my preliminary fitment, but the hatch relaxed into the body shell. I have some high spots, but I plan to use Bondo to even out the fitment issues.
Hinge open on the passenger side.

Search Engine Submission - AddMe