<<
Rear Hatch Fitment Hatch Gas Struts >>
Major System Category: Body (Hatch)
Task: Assemble and mount the hinges
Parts: Hatch hinges
Prerequisite Tasks: Preliminary hatch fitment
Additional Costs:
Time Requirement: 90 minutes
Date Started: September 1, 2012
Date Completed:
September 1 , 2012
The hinges are straight forward. The photos in the build manual give a basic understanding of how these fit together. There is a specific right and left hinge configuration. Basically, the hinge needs to move so it does not bind.
 |
| Hinge pieces. The manual photos can get you turned around, so just use common sense when fitting the bushings. |
Factory Five did a good job in designing adjustments for the hinges. They can move up, down, forward and back. Like most builders, I found the hatch to be high on one side and lower on the other. This is not something that can be forced into place. In order for the hinges to function properly, they need to rest flush against the top inside section of the hatch.
 |
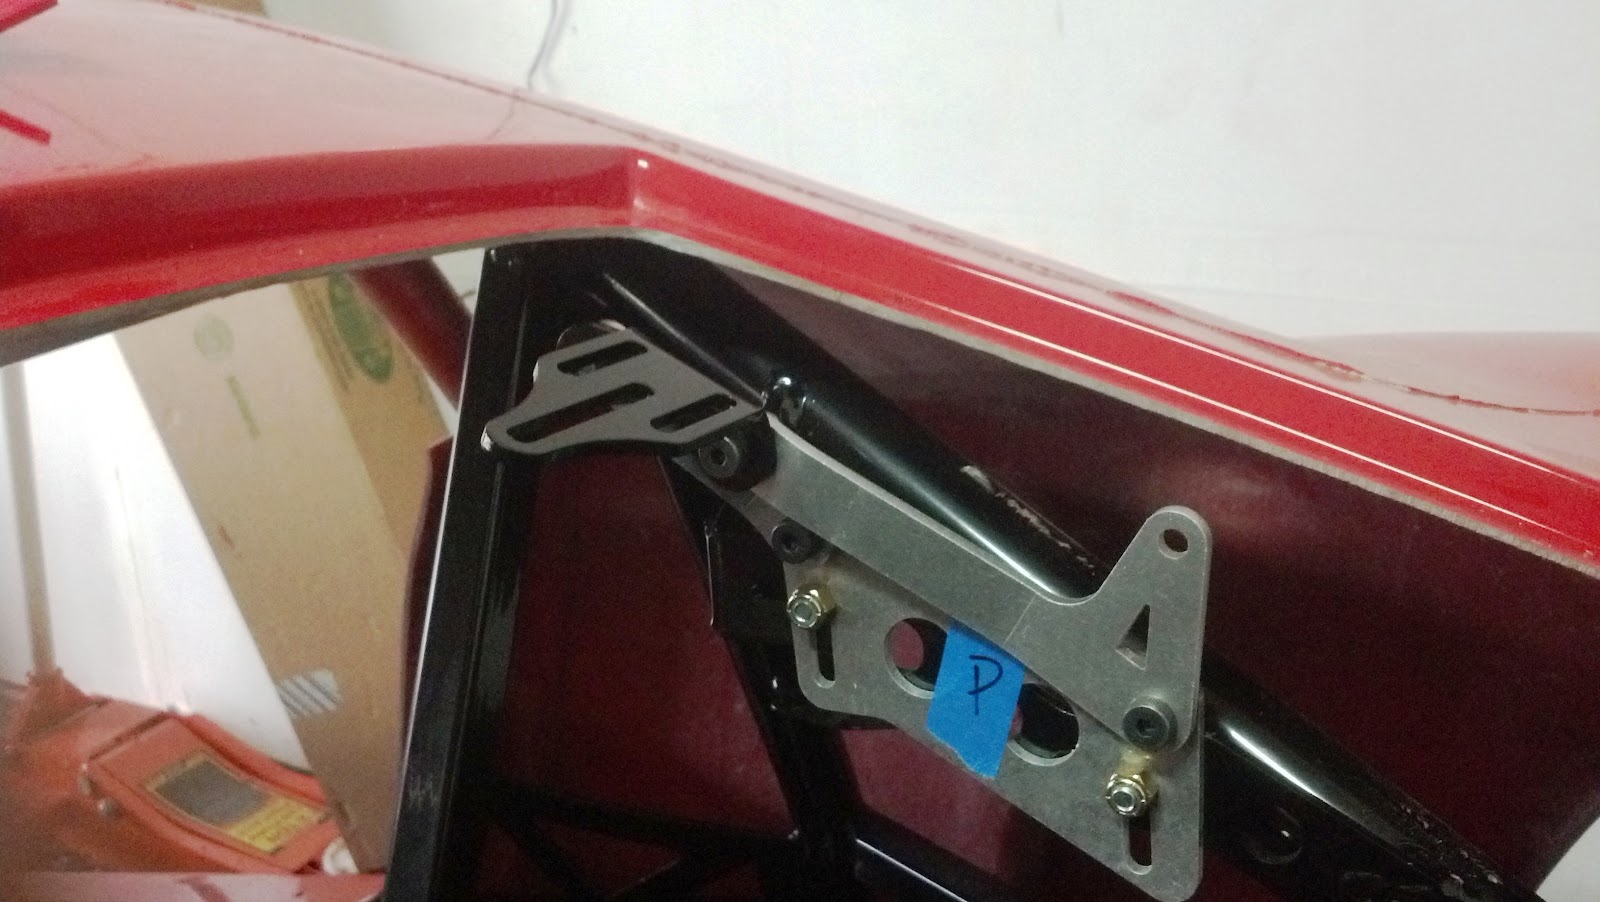
| Hinges assembled. I marked then P(assenger) and D(river). It got a little muddled when I stood in the engine bay. |
Unfortunately, when the hinges line up with the mounting pads on the hatch, the preliminary fitment tends to shift in some direction. I used a Sharpie and marked the lines inside the hinge groves where the hinge plate mated to the hatch. I then drilled and install the rivet inserts. The hatch is molded around a soft piece of aluminum, and there is a space under the aluminum,
so be careful when you drill.
 |
| Passenger side hinge closed after initial attachment to the chassis. |
I spent a fair amount of time working with the hinges and the hatch fitment. Finally, I loosened up everything connected to the chassis, and let the hinge/hatch move into place. This changed my preliminary fitment, but the hatch relaxed into the body shell. I have some high spots, but I plan to use Bondo to even out the fitment issues.
 |
| Hinge open on the passenger side. |